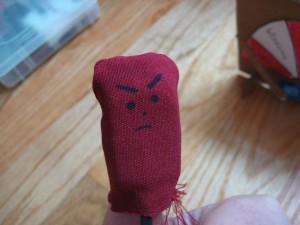
A few assignments ago in physical computing, I had the idea to make a thumb wrestler with a homemade force detector. I’ll talk about that more below.
Ever since that lab, I’ve used what I’ve learned to build onto that project adding LEDs, a servo, and a piezo buzzer. Here’s a short video demonstrating the final prototype:
Thumb Wrestler – final prototype from brett peterson on Vimeo.
Force Detector
Antonius, one of the residents at ITP taught us how to make a force sensor using variable resistive foam and conductive thread.
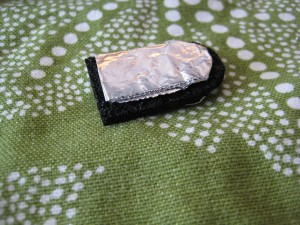
I didn’t have any conductive thread yet, so I used foil instead. The basic concept is that you have 2 pieces of metal (the foil in this case) with a piece of this foam sandwiched in between.
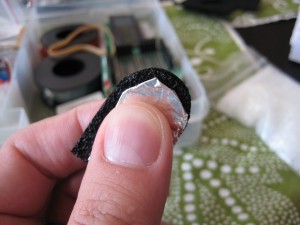
When force is applied to both sides of the sensor, the resistance changes. When we read those changes, we have a variable resistor, much like a potentiometer.
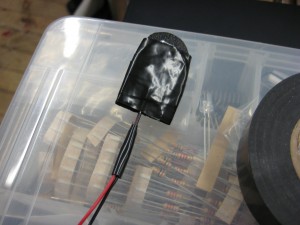
I placed wires onto the contacts and then taped the whole thing up with electrical tape.
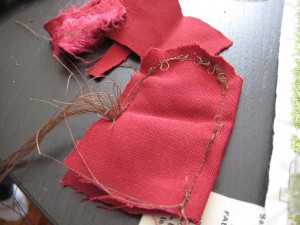
Then I worked on the “glove” for the thumb. I took a piece of fabric and folded it in thirds before sewing it down.
This was my first real sewing project, so the first try didn’t really turn out. After messing with the tension, it went much better.
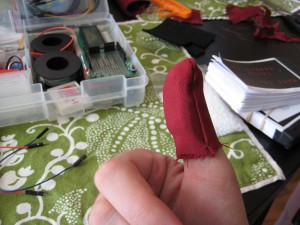
Then you just slide the sensor into one side and your thumb into the other.
Electronics
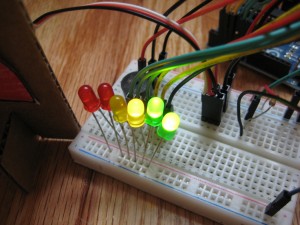
The first output I added was the LEDs. They turn on one-by-one when the force reaches a certain threshold. I had to play around with these a bit to find a range that seemed acceptable.
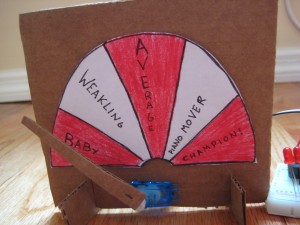
Next was the servo and the gauge. The different values were inspired by an turn-of-the-century arm wrestling machine I found online. The servo code and circuitry was pretty straightforward. The servo takes power, ground, and a PWM pin from the Arduino. the output pin sends data using the analogWrite command, with the sensor value mapped to a range that the servo could use.
Lastly, I added the piezo buzzer used for the victory song. I found an old tune on Youtube that fit my carnival theme and played it out in GarageBand so I could get the notes. Then it was just a matter of adding them to the notes array and playing them when the player reaches a high enough score.
I had a lot of fun working on this project and applying the labs I’d gone through. I’ve put my code on github including a fritzing diagram – be warned, the diagram is probably awful. It’s the first I’ve done.
Leave a Reply